How-To: Recycle Junk Mail into Paper Beads

bead tutorial, header

With just a few pieces of basic equipment, you can turn your boring old junk mail into cute paper beads! These lightweight, bulky beads are great for making fun chunky jewelry, festive garlands, or a bead curtain to hang in your doorway (if you're feeling ambitious!)


Equipment:

- Kitchen blender
- 2 Buckets
- Large bowl or tub
- Sieve
- Awl
- Cutting mat
- PVA (white) glue
- Acrylic gesso
- Acrylic paints
- Clear varnish
- Paintbrushes
- Paper for recycling.

For this tutorial, I loosely packed a 1-gallon bucket about 3/4 full with scraps, which yielded around 100 beads ranging in size from 1/2"-1".

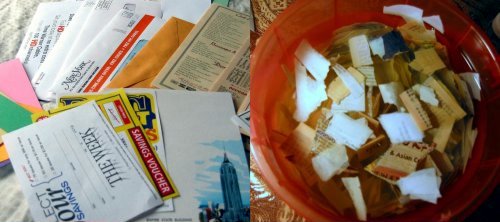
Ideal papers to use: anything printed on standard office paper, business envelopes, take-out menus with a matte finish, kraft paper.

Papers to avoid: glossy or coated papers such as magazine pages, waxed paper, newspapers and phonebooks (the ink is very messy and gross), facial tissue, paper towels.

NOTE: I recommend that you have dedicated equipment for home recycling/papermaking, rather than use the same items you use for food preparation. A good, used blender can easily be found at a thrift shop or yard sale. My rule is: if I use it for papermaking, I don't use it for food.

beadtutorial 1


STEP 1: Tear paper into 1" scraps. Make sure you remove any staples and all plastic windows from business envelopes. Place torn scraps in a bucket, fill with water, and let it soak overnight.

STEP 2: Now it's time to make pulp! Put a couple of handfuls of paper into the blender and fill blender about half-full with water. Blend until the paper has the consistency of oatmeal, about 10 seconds. Place sieve over second bucket, and empty blender into sieve. After the pulp in the sieve has drained a bit, manually squeeze out excess water before transferring pulp to large bowl or tub. Repeat this step until all your scraps have been pulped, drained, and squeezed.

STEP 3: Add a nice big dollop of white glue to the pulp, mixing it in with your hands.

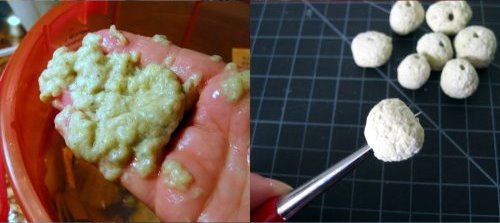
STEP 4: Roll yourself some beads! Take a bit of pulp and roll it into a little ball between your palms. This is the tricky part. If the pulp has too much water in it, it won't hold together. If it has too little water, it will be too crumbly to hold together, and your beads will break apart. Try rolling a couple beads and see how it goes. If the pulp is too wet to hold together, squeeze out more water. If the pulp is too crumbly, add back a little more water and some glue. You'll soon get a feel for the proper consistency, and it's easy to make little adjustments as you go. When in doubt, add more glue!
beadtutorial 2


Once you've formed all your pulp into little balls, let them sit in a nice, out-of-the-way spot until they are dry as a bone.

STEP 5: Put holes in your beads with an awl. Working on a cutting mat to protect your work surface, hold the bead steady between your thumb and forefinger and press the awl slowly and firmly straight down through the bead.

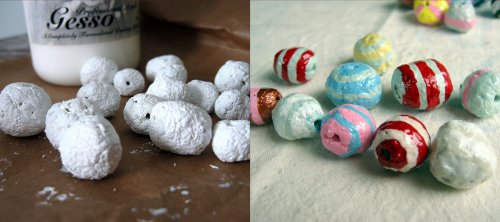
STEP 6: I like to prime my beads with a nice thick coat of undiluted gesso because it helps to smooth over the rough surface. This step isn't absolutely necessary, and you can go straight to decorating your beads with paint, if you want.

STEP 7: Grab your paints and brushes and go nuts!

STEP 8: When the paint is dry, you can brush on a coat of clear varnish to give your new beads a little added protection and shine.
beadtutorial 3

Get Ready for a {NewNew} Spring!


Back by popular demand, The {NewNew} will be hosting the Spring Handmade Cavalcade at The Bell House on May 9 and 10.

RSVP here to receive a limited edition screen-printed tote, perfect for all your local shopping trips!*
And don't forget to pass this onto your friends! They'll want to do some fun shopping as well!

*RSVP entitles registrant to one free, limited edition screen-printed tote bag. Offer available to the first 200 people to RSVP.


Wardrobe Refashion: New Socks


There are two things that I wasn't sure I would be able to handle with the Wardrobe Refashion Challenge: socks and underwear.


Despite having a seamstress for a mother who made a lot of my clothes growing up, those are the two things that I have always bought new from a big box store. I thought about stocking up on socks and underwear before the challenge, but I thought maybe that was cheating a little.

I have discovered on etsy that there is a ton of handmade underwear available. While much of it is a little too frilly and exciting for every day wear, there's plenty that just look comfortable and not too expensive.

As for socks, that was a little harder. So I thought, I'll tackle that first and then everything else will be easy. But... I don't knit. And I'm not interested in knitting. My mom is going to knit a pair of socks next. But I'm not holding my breath that they're for me or that I'll see them anytime this year, so I'd better figure it out on my own.

I remember seeing a pair of socks made from stretchy knit fabric on etsy, though now I can't seem to find them. So when I sat staring at my piles of fabric I started pulling out the stretchy-est fabrics I have. Here are my first two inventions.


I think it might need a little more tweaking in order to get excellent knee-high socks (my favorites), but these are both comfortable and cute.


Karen
Karen's Monsters

Tutorial: Use Heat Transfer Foil to Create a Stylish Laminated Pendant

This tutorial will show you how to create a super stylish pendant using heat transfer foil and watercolor paints to embellish a photocopy. In the spirit of the DIY Wedding idea, I decided to ask my friend Phil Guie to draw an image for his girlfriend, my friend and fellow NewNew team member Kari Love, something that he knew she would find very romantic. I took Phil's drawing, an adorable depiction of the eternal love between the Unicorn and the Narwhal, and put a frame around it, then shrunk it down to the right size to be worn as a necklace. With no further ado, here are all the steps you will need to follow to make a shiny, uniquely romantic laminated pendant for the one you love.

Step #1: Assemble Your Materials! You might not have all of the materials for this project just lying around, but the're all things that are good to have on hand and should come in handy for millions of future projects.


Materials:
1. Black-and-white photocopy of an image you would like to make into a pendant. A black-and-white laser print should also work. It's fine to make your copies on regular 20 lb copy paper.
2. Gold foil joss paper or other decorative paper for the back of the pendant.
3. Heat Set Laminate Pouches, 10 mil thickness. You should use small pouches, such as those made to laminate business cards, for this project, because when you are laminating small items, a small pouch is less likely to trap ugly air bubbles that will cause you trouble.
4. A regular home iron.
5. Metallic heat transfer foil. Transfer foil can be purchased in New York City at the Pearl Paint Craft Center on Lispenard St. or online at one of my favorite suppliers, Dharma Trading Co.
6. 1/16" eyelets and an eyelet setting tool. 1/16" eyelets can be hard to find. I ordered mine online from this company.
7. A 1/16" hole punch. You can find these at most art supply stores.
8. A hammer.
Things not pictured that you will also need: A glue stick, scissors, Metal jump rings, and a necklace chain to put your pendant on.
And, finally, you will need access to a laminator.


Step #2: Transfer the foil onto your image. Set your iron to the Cotton setting, no steam. Place the foil on top of your photocopy with the shiny side facing up. The foil should transfer after a few seconds of heating with the iron. After you peel the foil sheet off of your image you may want to gently rub the image with a finger to make sure all the foiled lines are clean and crisp.

The photo below shows the copied drawing pre- and post-foiling.

Step #3: Make your image beautiful by painting with watercolors. You could also color it with colored pencils or markers.

Step #4: Glue your image to the back of the joss paper so that the back of your pendant will be an attractive gold color instead of just white. Any decorative paper or magazine image will work to make an attractive back for your pendant.

Step #5: Cut your image down to its final size.

Step #6: Laminate your image. You can laminate multiple pendants together, but you should leave around 3/8" of space between them to make sure the laminate seals completely around each one.


Step #7: Cut your pendant out, leaving about a 1/16" seal of laminate all the way around.


Step #8: Make a hole with your 1/16" punch. For rectangular pendants, it helps to measure and make sure your hole is in the center so that the pendant hangs straight.


Step #9: Insert an eyelet into the hole and set it with the eyelet setting tool and a hammer.

Step #10: Add a jump ring, slip your pendant onto a chain, and give it to the one you love!


How to Elope with Style


Lots of little girls dream of their weddings. All I ever fantasized about was the dress and the jewelry. So when my now-husband and I decided to get married, we quickly dispensed with the notion of a shin-dig and decided to do it on our own terms.

Niagara Falls called to us, so we booked a room with a gorgeous view and came up with excuses to get away for a few days in April.

The mayor of Niagara Falls, New York performed the ceremony. Rather than the boiler plate we'd expected, we got his take on the wedding vows, which were much sweeter and more heartfelt.

Although our nuptials took place in the dark ages before Etsy and the {New New}, they did include many handmade and DIY elements.

My dress was custom made at a local shop called Kimera. My cute capelet also came from a local shop that carries lots of handmade goods, Rapisarda. My husband worked with jewelry designer Lady J. to create an engagement ring based on one that had been my grandmother's. We got custom wedding bands from the Original Titanium Workshop.

As a gift on the day we got married, he got me a beautiful handmade purse from Refinery, a local pioneer in handmade retail.


Afterwards, we let our friends and family know we'd gotten hitched by sending out this card:
which we made by taking a picture of some public art near our house that we thought kind of looked like us. With each card we included a cd of the theme song to Laverne and Shirley, "Doing it Our Way."

If I were to do it all over again, I'd still elope. We spared ourselves a great deal of stress, and to this day we still feel justified in splurging on travel since we saved so much money by not having a a wedding.

The only thing I'd change is I'd definitely do a lot of my shopping from the {New New}!

Stylish elopement necessities from Ikyoto, bluestitch books, metalicious, groundsel, jesswitaj and Lingua Nigra.

-MaryAnne
wabisabibrooklyn.com
wabisabibrooklyn.etsy.com

It Takes Two, Baby

I've always appreciated the power of a dynamic duo. There's something about the act of coupling, of pairing, of two distinct entities coming together to create something wholly unique from its origins, yet clearly indebted, that's infinitely compelling.

Kinda like love.

Anywho, that's how I've always imagined my wedding and marriage: a coming together of two distinct people, lives, and lessons, to form something new, something that hadn't existed before between the two of us. Just me and you, as the classic Marvin Gaye-Tammi Terrel song goes.

The following selections of pairs and "twos" from {NewNew} artisans are a little unorthodox at first glance, but why not make your wedding your own?

It takes two.


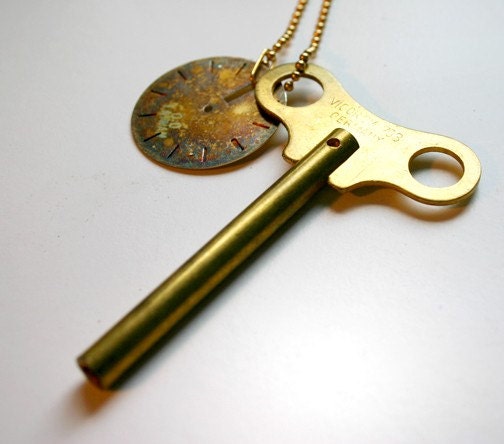
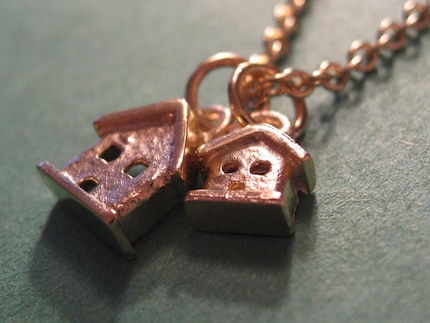
Time Charm necklace by pCharming and Gold Plated Double House Necklace by JDavisStudio


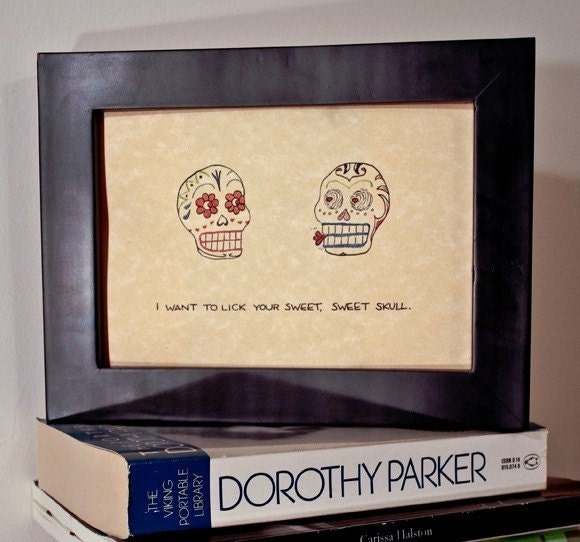
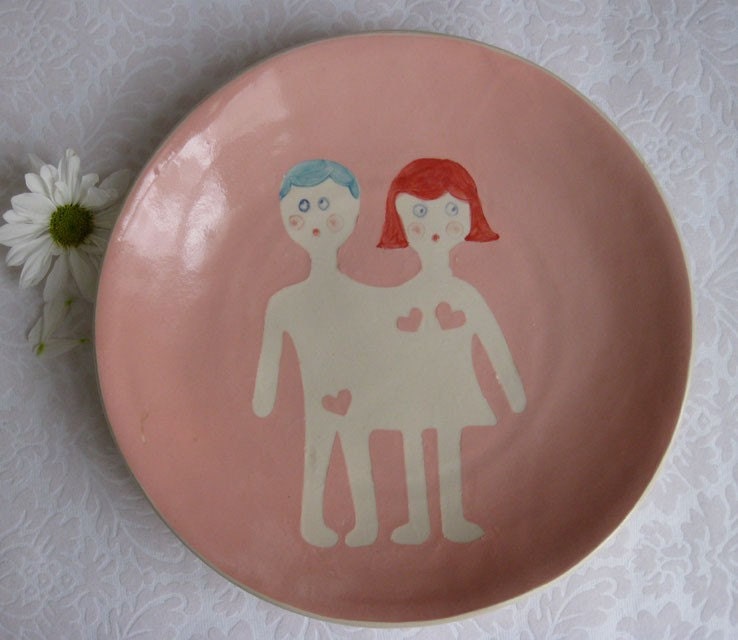
Mexican Sugar Skulls by MHalston and Love is Not Dinner Plate by May Luk


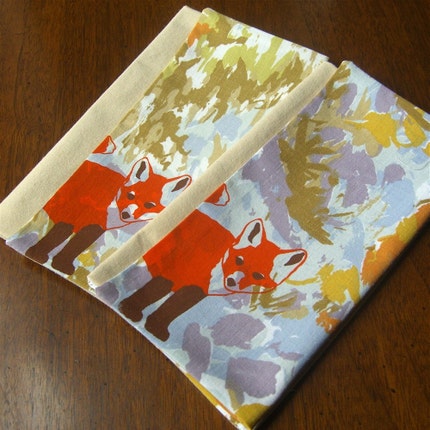
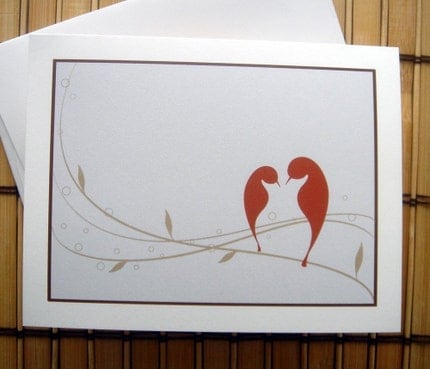
Pair of Foxes by cakehouse and Love Birds Note card set by Fubabee


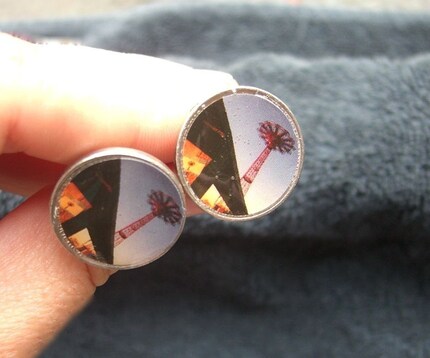
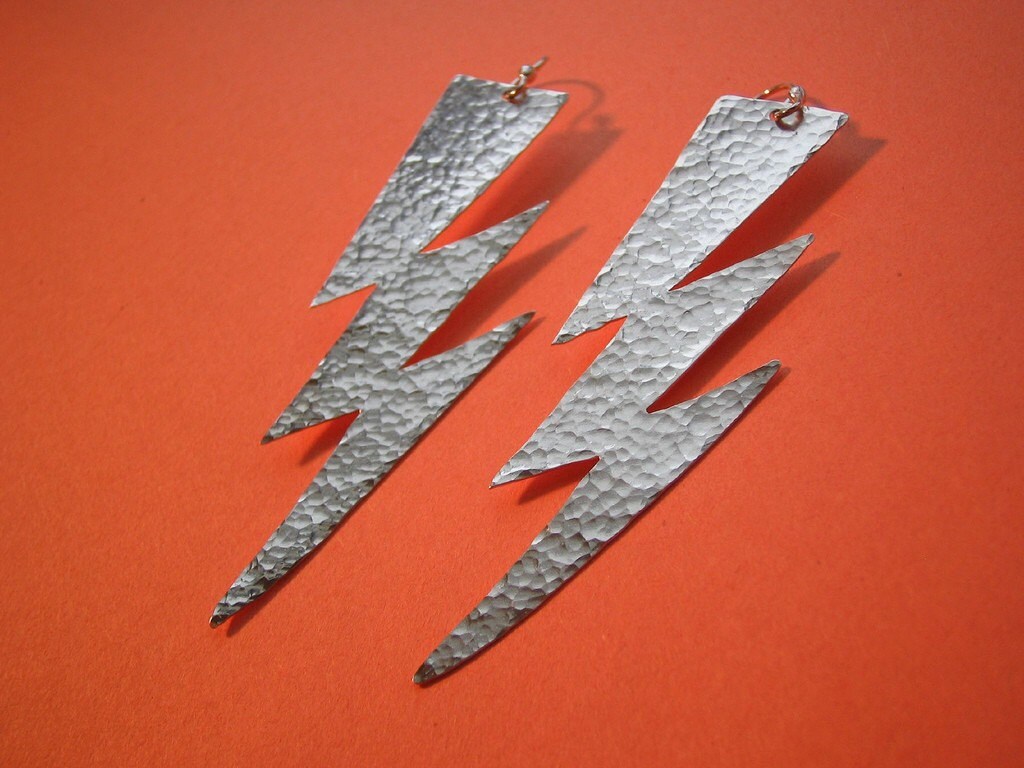
Parachute Jump Cufflinks by WabisabiBrooklyn and Lightning Bolt Earrings by MetalSugar


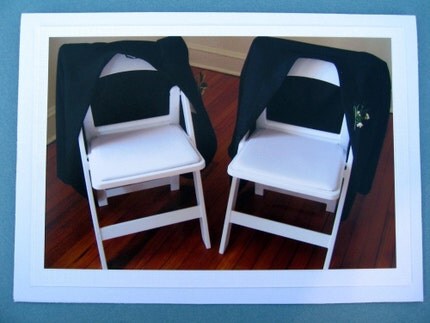
Robot Pins by Panda With Cookie and Tuxedo Chairs by Elbees Creations.


-- Susan
persuede.etsy.com