A Quilt for Elias

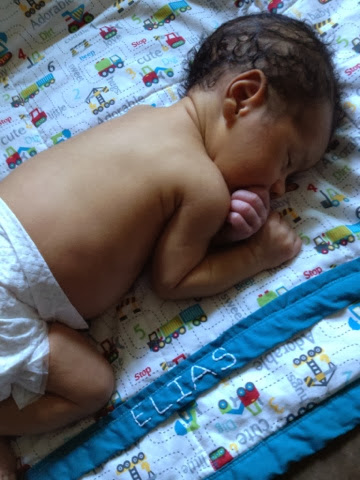
My brother has two little boys, and when the first one was born, I knitted a blanket for him. He was born in late March, so I had plenty of time to knit this blanket. I am not the best knitter, so it took quite a while to finish. My second nephew was born in late June...right in the middle of crafty season (the picture above was taken when he was 5 days old...he was awake and ready to meet me!) I was busy making soap, lotions, etc., so knitting a blanket was not possible. Just not enough time to get it done, so I decided to make a quilt. This is not really a tutorial, but more of an inspiration for you to try something new. If I can do it...anyone can!
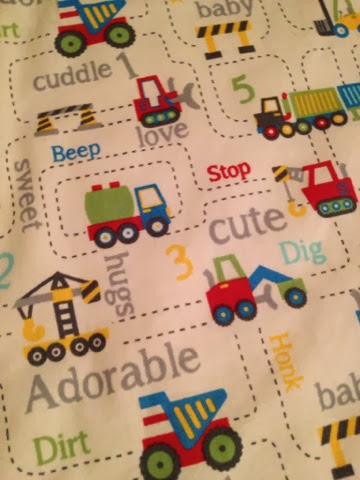
I have never made a quilt before, but I was determined to make a nice keepsake for my little nephew. I scoured the internet, and found some basic instructions. Traditionally, quilts are made with different squares of fabric pieced together. But, for my first try, I decided to keep things simple. I purchased 4 yards of a colorful fabric and another 1/2 yard for the trim, I also purchased some crib size quilt batting.
First I cut and measured the fabric and batting, then pinned them together (right sides facing each other.) I sewed them together and turned the fabric right side out. I passed a light iron over the whole thing to smooth out any wrinkles.
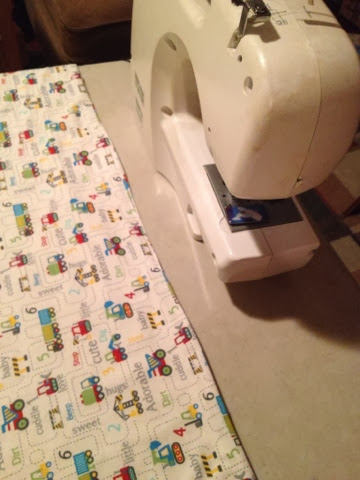
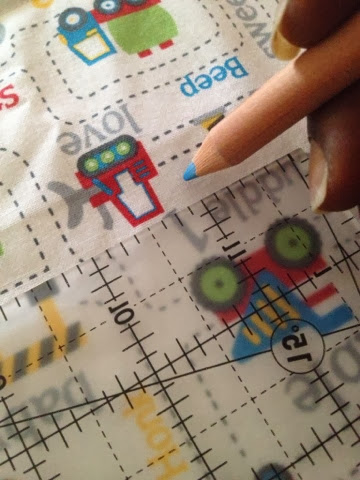
After I had everything assembled, and sewed up all edges, I used a fabric pencil and marked off 12" sections. I then ran the whole thing under the sewing machine to "create" the quilting. I must admit, the lines were very wonky, but not that noticeable.
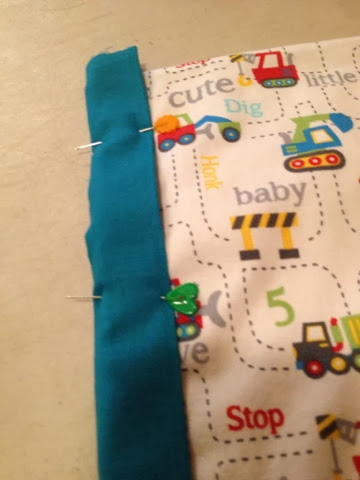
Using a bias tape maker, I made a 2" trim for all 4 edges of the blanket. I pinned the trim in place, and sewed three of them in place.
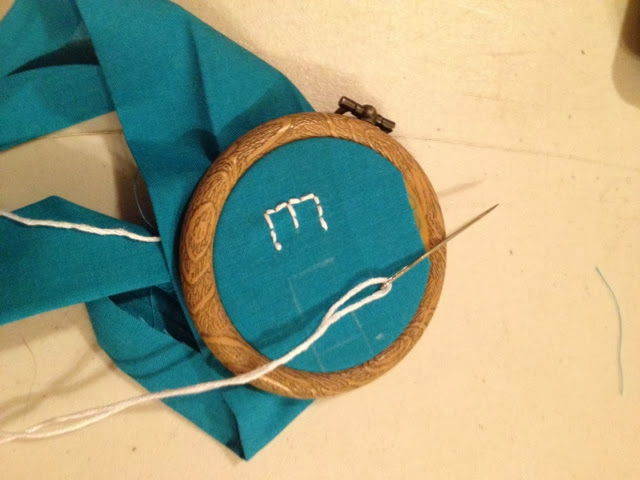
Before sewing on the last piece of trim, I decided to embroider his name on it....just to personalize it a bit more.
Here it is....the finished quilt. I was able to give him the blanket when he was two weeks old. I was so proud of my efforts! Maybe with the next quilt, I will get a bit more fancy, and try to piece different squares together.