Baking Soda Clay
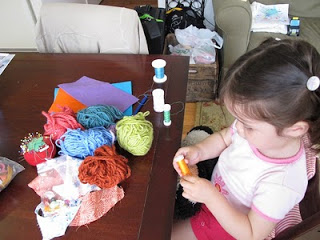
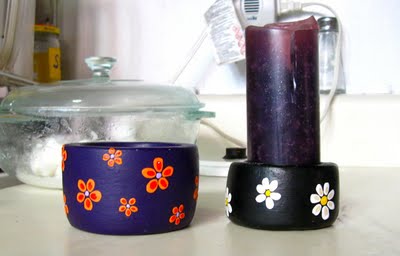
Here's another homemade modeling compound that good for both kids and adult artisans. Compared to the homemade polymer clay I presented a few weeks ago, it's non-elastic when wet and much "softer" when dry---that is, easy to sand smooth or to reshape, to add etchings, and possibly even to carve (I haven't tried). I've used it to make a variety of small items, particularly small bowls and candle holders (shown below in order of finished-ness). It takes paint well but I would finish painted pieces with a coat of varnish.
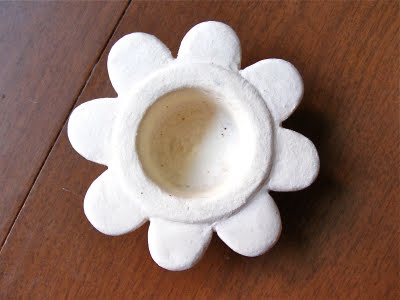
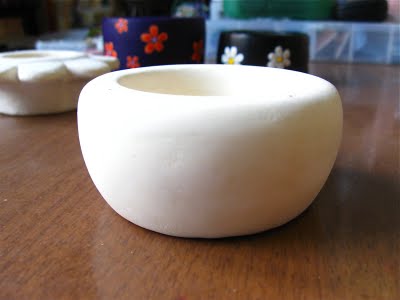
Sanded nice and smooth!
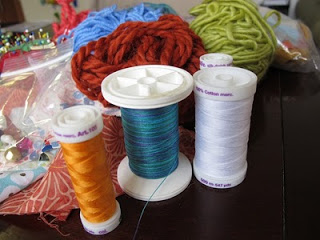
Materials
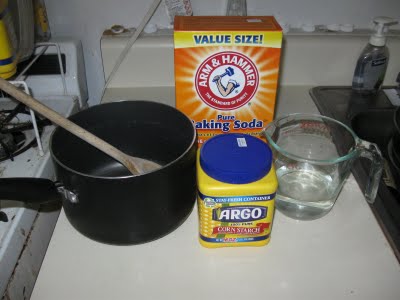
- 1 cup corn starch
- 2 cups baking soda
- 1.25 cups cold water
- Non-stick pot
- Wooden spoon
- Med-large bowl (not pictured)
- Damp cloth, lid or plate (not pictured)
Steps
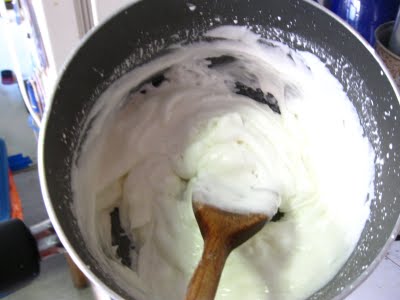
Combine ingredients in pot and stir until smooth.
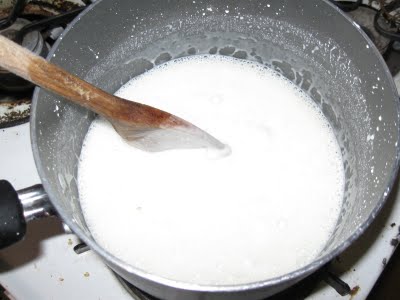
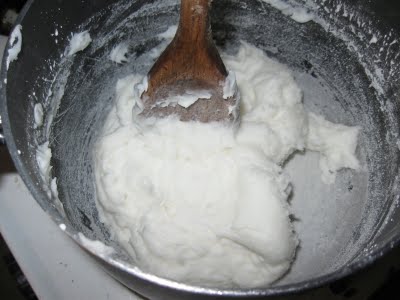
Cook over low-medium flame, stirring constantly, until the mixture resembles mashed potatoes.
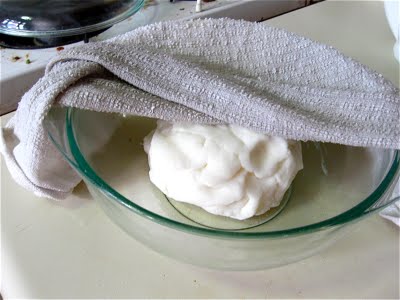
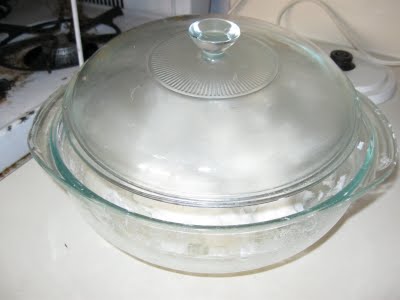
Remove from heat and let cool in a separate container either covered with a damp towel or mostly covered with a plate or lid.
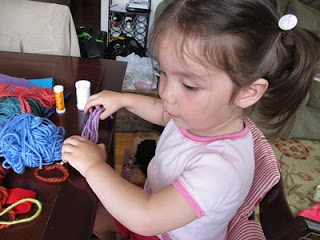
Sculpt. If necessary, use a bit of water to stick bits of dough together. Be careful, though, as the softness of this dough makes it prone to dissolve.

Allow to dry, about 2 days depending on the size and thickness of your finished piece. You can speed up drying in a 150 F oven, cracked open, or a 350 F oven turned off (heat the oven to 350 F and then turn it off).
Until next time --
Enjoy!
Linda/Purty Bird